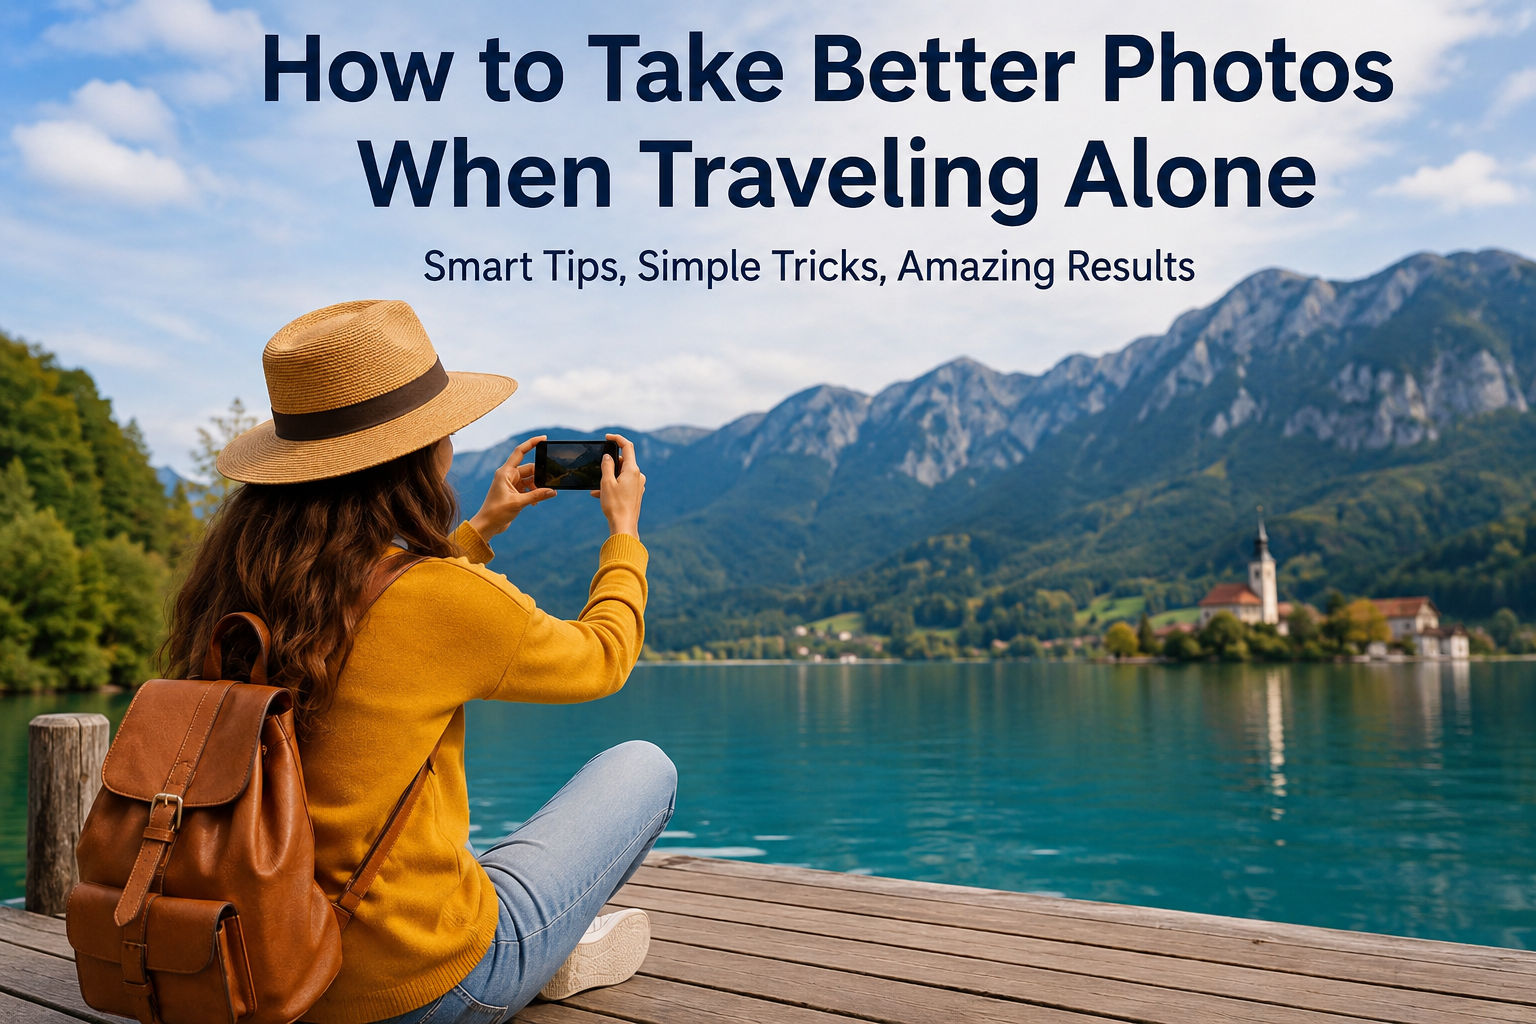
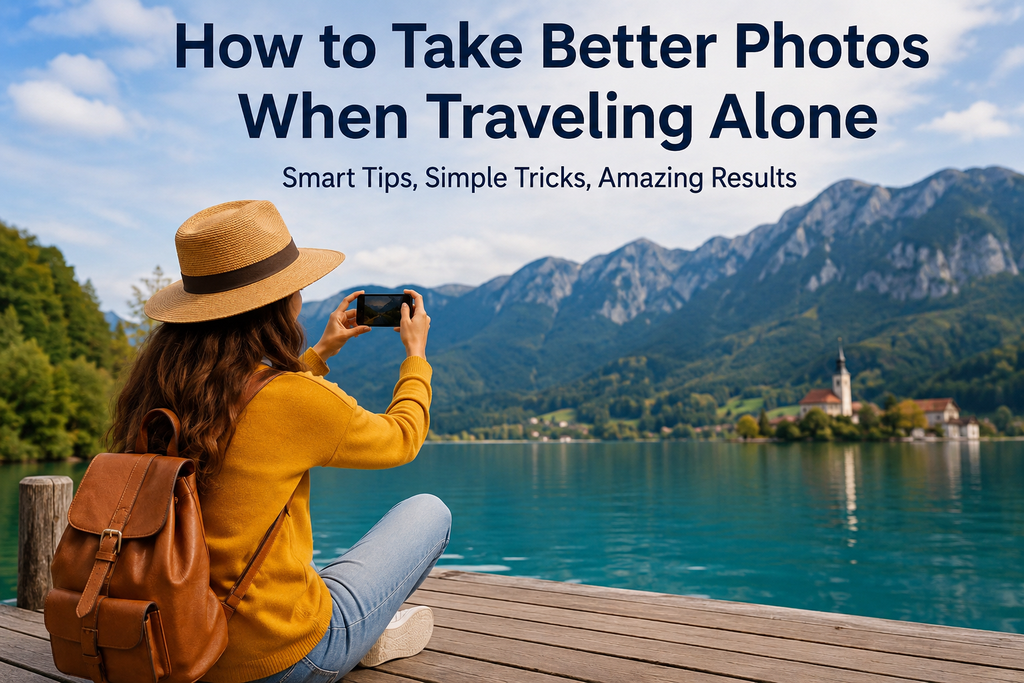
Traveling alone gives me a special kind of freedom. I can choose where to go, how long to stay, and what moments I want to remember. But there is one challenge I often notice when traveling alone: taking good photos of myself and the places I visit.
When there is no travel partner around to hold the camera, taking photos can feel difficult. However, I have learned that traveling alone does not mean I have to miss out on great travel pictures. With a little planning, some simple photography techniques, and the right attitude, I can capture beautiful photos without depending on another person.
In this article, I will share the practical tips I use and recommend for taking better photos when traveling alone.
Choose the Right Camera for Your Trip
The first thing I consider is the camera I want to carry. I do not believe that I need an expensive professional camera to take beautiful travel photos. A modern smartphone can produce excellent results when used correctly.
For most solo trips, I prefer a device that is easy to carry and quick to use. A smartphone is especially useful because it allows me to take photos, record videos, edit pictures, and share memories from one device.
If I am going somewhere where photography is a major part of the trip, I may consider carrying a mirrorless or compact camera. However, I always think about weight and convenience before adding extra equipment to my travel bag.
The best camera for solo travel is often the one I am comfortable carrying and using.
Use a Small Tripod
One of the most useful accessories for solo travel photography is a small tripod. It allows me to place my phone or camera somewhere stable and take photos without asking strangers for help.
A compact tripod does not take much space in a backpack. Some smartphone tripods also come with remote controls, which make taking self portraits much easier.
I can place the tripod on a safe surface, frame the scene, connect the remote, and take several photos until I get the result I like.
When using a tripod in public places, I always make sure it is positioned safely and does not block pathways or disturb other people.
Learn How to Use the Timer
The camera timer is another simple feature that can completely change solo travel photography.
Instead of trying to take a photo while holding the phone in my hand, I can set a timer for a few seconds, position myself, and let the camera take the picture.
I usually take several photos instead of relying on one shot. Small changes in posture, facial expression, and position can make a big difference.
If my camera has a longer timer option, I can use it when I need more time to move into position.
Use the Rule of Thirds
Good composition can make an ordinary travel photo look much better. One of the easiest techniques I recommend learning is the rule of thirds.
Most smartphone cameras have a grid option that divides the screen into sections. I can use these lines to position myself or an important part of the scenery.
For example, instead of placing myself directly in the center of every picture, I can stand slightly to one side and allow the landscape to fill the rest of the frame.
This creates a more natural and interesting composition.
The rule of thirds is not a strict rule, but it is a useful starting point when learning how to take better photos when traveling alone.
Pay Attention to Natural Light
Lighting can completely change a photograph. I have found that natural light usually produces better and more attractive travel photos than harsh artificial lighting.
Early morning and late afternoon are especially useful times for photography because the light tends to be softer. These periods can create warm colors and gentle shadows.
I also try to avoid standing directly under strong overhead sunlight because it can create unwanted shadows on the face.
When taking a photo outdoors, I look at where the sunlight is coming from and adjust my position accordingly.
Good lighting does not require expensive equipment. It mostly requires patience and observation.
Find Interesting Backgrounds
A beautiful photo is not only about the person in it. The background matters just as much.
When I travel alone, I look for backgrounds that tell a story about the destination. This could be a historic street, a mountain, a beach, a colorful market, a famous building, or a quiet local café.
Instead of simply standing in front of a landmark, I try to include some surrounding scenery. This makes the picture feel more connected to the journey.
I also check the background for distracting objects before taking the photo. A clean background can make the main subject stand out much more clearly.
Take Candid Looking Photos
Not every travel photo needs to look like a formal portrait. Some of my favorite travel pictures are the ones where I appear to be naturally exploring the location.
I can walk toward the camera, look at a view, read a map, drink coffee, watch the sunset, or simply look around.
Using a tripod and timer makes these photos possible even when I am completely alone.
The goal is not always to look directly into the camera. Sometimes a natural pose creates a more genuine travel memory.
Take Multiple Photos
One mistake I try to avoid is taking only one photo and immediately moving on.
Even experienced photographers take multiple pictures because small differences can change the final result.
I might take one photo while standing, another while walking, and another while looking toward the scenery. Later, I can choose the picture that looks most natural.
Digital photography makes this easy because I do not have to worry about wasting film.
However, I still try to review my photos during the trip so I can notice problems such as poor lighting, closed eyes, blurry images, or distracting backgrounds.
Use Different Camera Angles
Changing the camera angle can make a huge difference.
I can place the camera slightly lower to make a building or landscape appear more dramatic. I can also place it higher for a different perspective.
Instead of taking every picture from eye level, I experiment with different positions.
I also try both vertical and horizontal photos. Vertical pictures can work well for portraits and social media, while horizontal pictures are often useful for landscapes and website images.
Trying different angles helps me discover what works best for the location.
Ask Someone When Necessary
Although I enjoy using a tripod, sometimes asking another person is the easiest solution.
If I want a photo at a busy attraction, I can politely ask another traveler to take a picture. I usually choose someone who looks comfortable using a camera or phone.
Before handing over my phone, I quickly explain how I want the picture framed.
I also avoid giving my expensive camera or phone to strangers if the location feels unsafe. My personal safety is always more important than getting the perfect photo.
Use Burst Mode for Action Photos
Burst mode can be helpful when I want photos that show movement.
For example, I can set up my phone or camera and walk through the frame while taking multiple pictures. This gives me several options to choose from later.
It is especially useful for photos where I am walking, turning around, jumping, or interacting naturally with the surroundings.
Not every picture will be perfect, but one of the frames may capture the exact moment I want.
Keep Your Equipment Safe
Solo travel photography also requires some common sense.
When I place my phone or camera on a tripod, I make sure the equipment is secure. I avoid leaving expensive equipment unattended, especially in crowded places.
I also avoid standing in dangerous locations simply to get an impressive photograph. A beautiful picture is never worth putting myself at risk.
I pay attention to traffic, cliffs, water, slippery surfaces, and crowded areas.
Travel photography should help me enjoy the journey rather than create unnecessary problems.
Edit Photos Without Overdoing It
Editing can improve a travel photograph, but I believe natural looking images usually work best.
Simple adjustments to brightness, contrast, shadows, highlights, and color can make a photo look cleaner.
I try not to apply extreme filters that completely change the appearance of the destination.
The purpose of editing, in my opinion, should be to improve the photo while keeping the memory realistic.
Many smartphone editing apps provide enough tools for basic travel photography. There is no need to become an expert editor to improve everyday pictures.
Take Photos That Tell a Story
The best travel photography is not always the most technically perfect photography. For me, the most valuable pictures are the ones that remind me of a specific moment.
I like taking a mixture of landscape photos, personal portraits, local food pictures, street scenes, architecture, and small details.
These different images create a visual story of the trip.
A photograph of my breakfast at a local café may not look impressive to someone else, but years later it might remind me exactly where I was and how that morning felt.
That emotional connection is one of the best parts of travel photography.
Practice Before Your Trip
I recommend practicing before traveling alone.
I can test my tripod, timer, camera settings, and different poses at home. This helps me feel more comfortable when I actually arrive at my destination.
I can also practice taking photos in a park or another public place.
The more I practice, the less awkward solo photography feels.
I do not need to become a professional photographer. I only need to understand the basic tools I have and learn how to use them confidently.
Final Thoughts
Learning how to take better photos when traveling alone is mostly about preparation, creativity, and practice. I do not need expensive equipment or another person standing behind the camera.
A smartphone, a small tripod, natural light, good composition, and a little patience can be enough to capture memorable travel photos.
I also remind myself that photography should never become more important than enjoying the journey. Sometimes I put the camera away and simply experience the place around me.
The best solo travel photos are the ones that preserve real memories. By experimenting with different angles, backgrounds, lighting, poses, and camera settings, I can create pictures that make me remember not only where I traveled, but also how I felt while I was there.
If I am traveling alone, I see photography as another part of the adventure. Instead of worrying about not having someone to take my picture, I can use the opportunity to become more creative and independent.
With a little practice, taking better photos when traveling alone becomes easier, more enjoyable, and much more rewarding.